Microsoft, which is the developers of the Windows 10 operating system, is trying to promote other projects in every way (and quite reasonably), introducing them into the OS.
One of these projects is a cloud storage and synchronization service called "OneDrive", which is very popular all over the world.
However, given the high level of competition in this area and the availability of services from Google, the popularity of OneDrive is significantly less.
That is why the issue of disabling and removing the functionality of this cloud service with computers based on the Windows 10 operating system does not lose its relevance.
This is also due to some aggression by Microsoft, in their attempt to popularize their project.
And within the framework of this article, we will provide several ways to not only disable, but also remove it from the operating system.
How to disable OneDrive
The desire to disable the cloud service in question is also because it runs together with the operating system, while spending precious computer resources, but very little, but still. This automatic startup has a special impact on those users who are trying to increase the speed of their computer by all means.
It should be understood that "OneDrive" is the same component of Windows as many others, which implies certain difficulties in trying to completely uninstall it, but you should not have problems with disabling it.
To disable auto loading, you only need to do the following:
Solution 1:
- Right-click on the "OneDrive" icon located in the lower right corner;
- In the menu, select "Options";
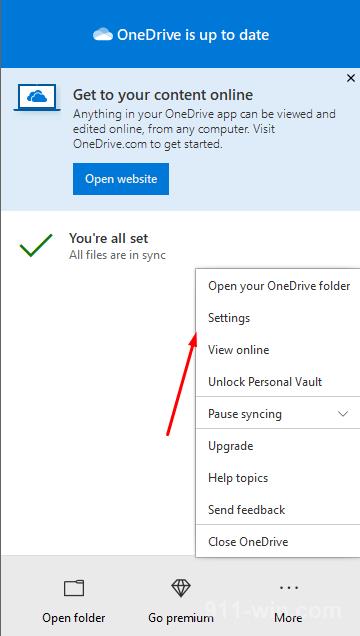
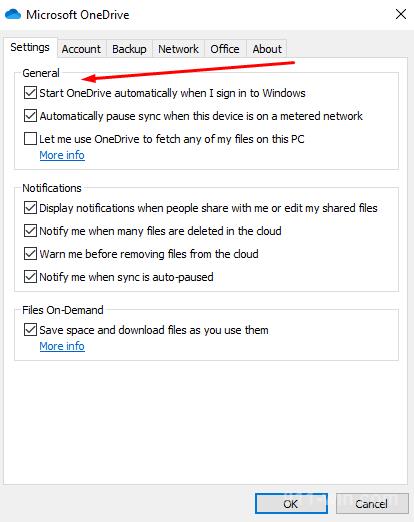
- Go to the "Settings" tab;
- Uncheck the "Start OneDrive automatically when I sign in to Windows" box.
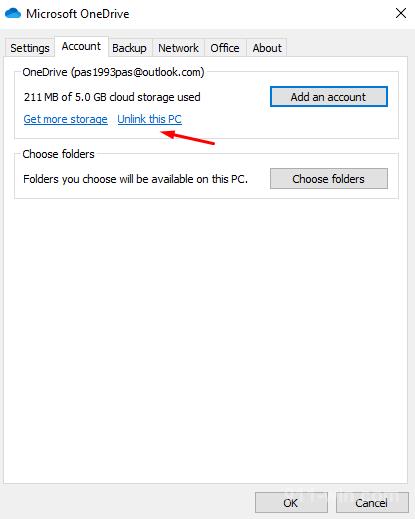
It is also worth noting the "Unlike this PC" item on the "Account" tab, which will stop syncing between devices.
Save your changes and close the window.
Solution 2:
- Use the useful and well-known keyboard shortcut "WIN+R "and run the command "gpedit.msc";
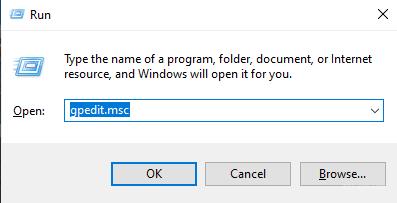
- The local group policy Editor opens;
- Step by step, open the computer Configuration → Administrative templates → Windows Components → OneDrive folders;
- Locate the option "Prevent the usage of OneDrive for file storage";

- Open it and set the "Enabled" mode;
- Close the editor.
This method is not suitable for users with a "Home" version of the operating system, due to the existing functional limitations.
Such actions are enough to solve the set tasks.
How to delete OneDrive
The main question is "should I delete it?". Even if you use this cloud service, disabling it will prevent the loss of resources, but deleting it can create unnecessary questions in the event that there is a need for"OneDrive".
However, if you have finally decided to delete it, then take the following, steps (first create a restore point):
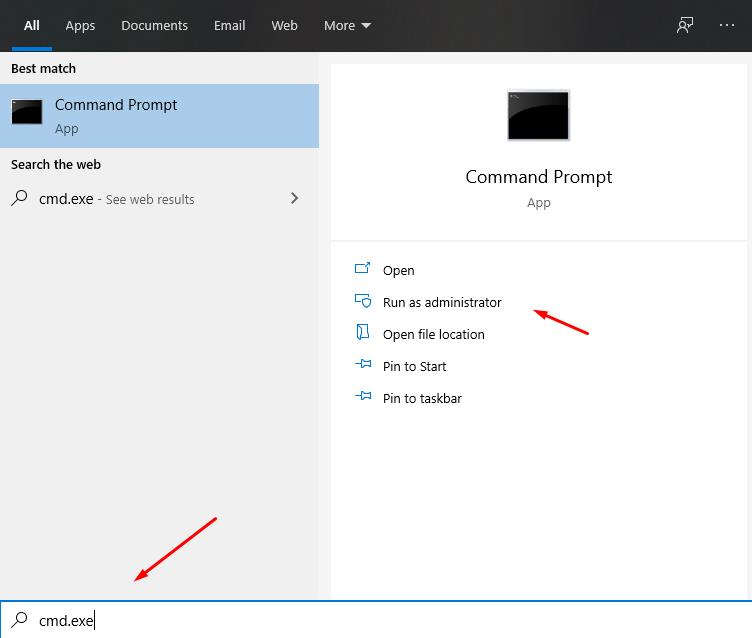
- Open a command prompt with administrator rights by clicking "WIN+S" using the "cmd.exe";
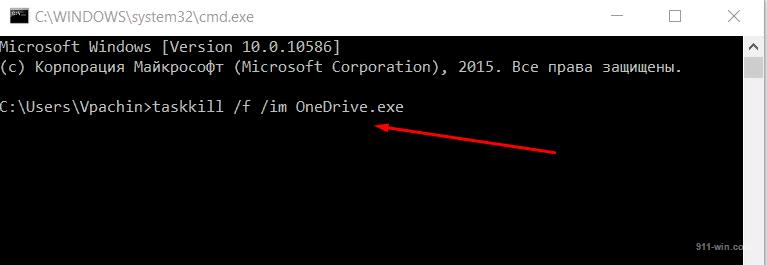
- If you have not disabled "OneDrive "using the methods described above, first run the command" taskkill /f /im OneDrive.exe";
- Next, depending on the bit depth of the operating system, run the command
For 32-bit – "C:\Windows\System32\OneDriveSetup.exe /uninstall»
For 64-bit – "C:\Windows\SysWOW64\OneDriveSetup.exe /uninstall»
This way you will delete "OneDrive", but its icon will remain in" Explorer", despite the actual absence of software.
To delete the icon, you will need to make some changes to the registry:
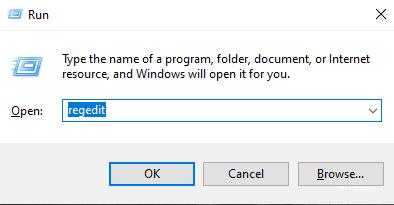
- Click "WIN+R" and run "regedit";
- In the registry editor, open " HKEY_CLASSES_ROOT \ CLSID\{018D5C66-4533-4307-9B53-224DE2ED1FE6}
- Change the value of the "System.IsPinnedToNameSpaceTree "from " 1" to "0"; (10)
- Perform the same action with the same parameter in the folder: HKEY_CLASSES_ROOT\ Wow6432Node\ CLSID\ {018D5C66-4533-4307-9B53-224DE2ED1FE6}.

Close the registry editor window and restart your computer.
Conclusion
The last thing to note is that to return to health, open the file "OneDriveSetup" in the folder "SysWOW64" (for 64-bit) or "System32" (for 32-bit system).